Congratulations to Heather M, Lenore L, Heather T, Helen S, and Rebecca A!
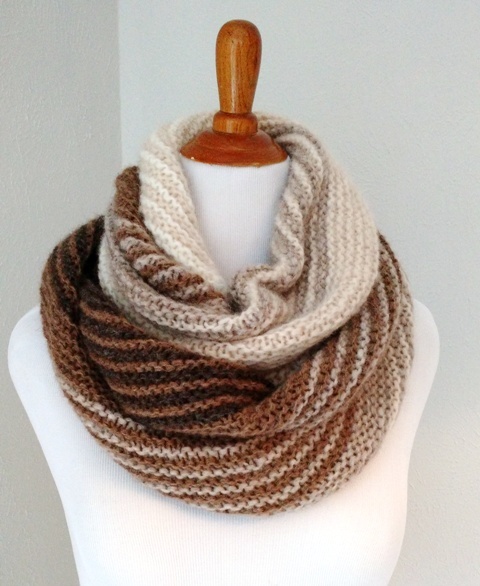
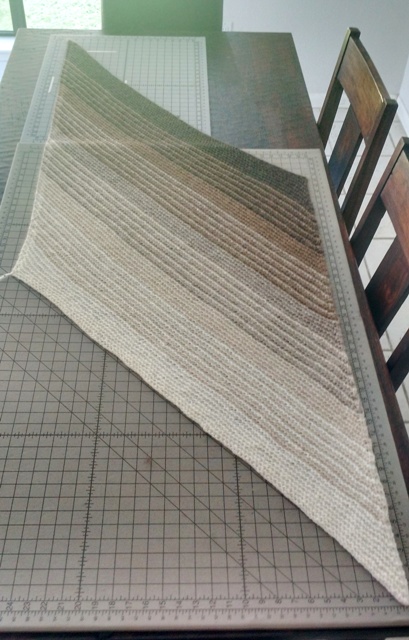
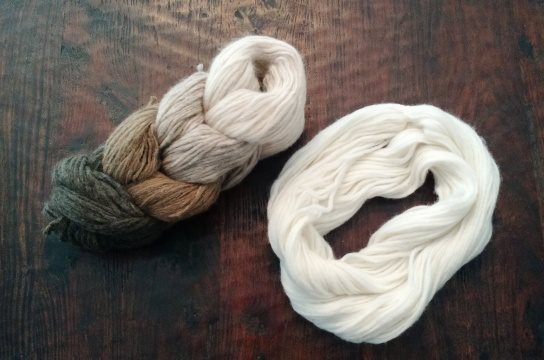
If you didn’t win this time, you can find the SKEINO Moon Shawl kits here.
The free pattern link is on the Ravelry page – be sure to like and queue!
The random number generator I used to pick the winners can be found here.
Be sure to subscribe to my YouTube channel – new knitting video every week, and more giveaways coming soon!