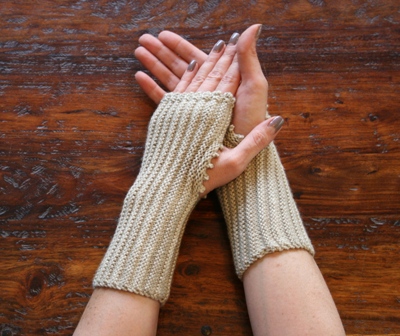
Instructions for working Fisherman’s Rib:
Cast-on a multiple of 2 stitches, plus 3
Setup Row (RS): K across all stitches
Row 1 (WS): *P 1, K 1 into stitch below*, repeat between *s to last stitch, P 1
Row 2: K1, *K1, K 1 into stitch below*, repeat between *s to last 2 stitches, K 2
Repeat Rows 1 and 2 to desired length, BO on WS, while working Row 1
Instructions for working this stitch in-the-round:
Cast-on an even number of stitches, and join to begin working in-the-round.
Setup Round: K around all stitches
Round 1: *K1, K 1 into stitch below*, repeat between *s to end
Round 2: *P 1 into stitch below, K1*, repeat between *s to end
Repeat Rounds 1 and 2 to desired length, BO while working Round 1
To purl into stitch below, approach the V below the current stitch from back to front.
This is the photo of the “swatch” I started knitting to test the instructions I wrote for knitting Fisherman’s Rib in-the-round. It was turning out so nice, that I decided to keep going! I think I’ll turn this into a cowl/open-ended cap, since I don’t want to mess up the line of this stitch with decreases.
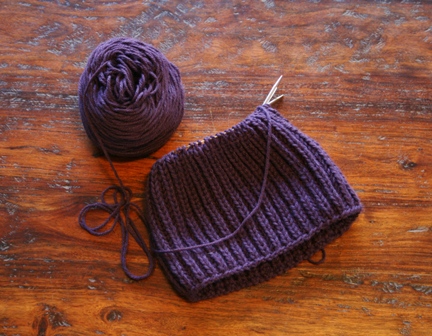
I cast-on 70 stitches on to 16″ size 8 US (5mm) needles with worsted weight (Aran, 10ply) yarn. The yarn I used is Berroco Vintage.
Information on things you’ll see in this video:
The green sweater on the mannequin is my Learn to Knit a Woman’s sweater, pattern + video tutorial.
The green cotton/acrylic yarn I used in the lacier sample is Knit Picks Comfy worsted, knit on size 10.5 US (6.5mm) needles.
The bright pink yarn I used in the worsted-weight sample is Araucania Merino Worsted.
The gray bulky yarn I used for demonstration is Malabrigo Chunky.
The wood needles I use for demonstration are by Clover, size 10.5 (6.5mm).